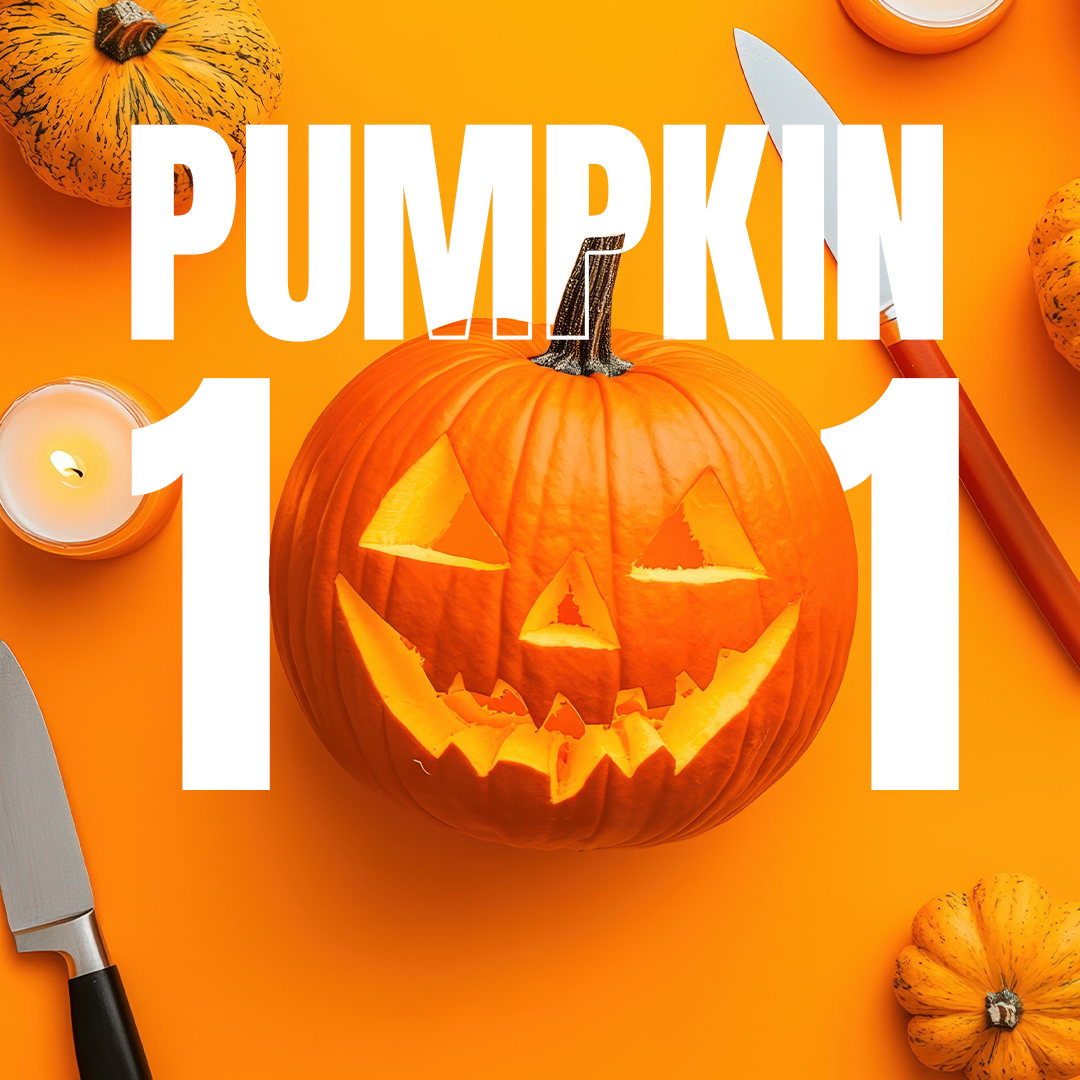
Pumpkin Carving 101
At Kelly’s Expat Shopping, we’ve got you covered with fresh pumpkins in-store and a special treat to make your carving experience even easier: free downloadable stencils to take your pumpkins to the next level!
Ready to carve? Let’s get started with some helpful tips!
1. Choose the Perfect Pumpkin
The foundation of a great jack-o'-lantern is a great pumpkin! Stop by one of our stores to pick up your perfect canvas. Look for pumpkins that:
- Have a flat base so they’ll sit upright.
- Feel heavy for their size (this usually means a thick wall for carving).
- Have smooth skin, which makes drawing your design easier.
2. Gather Your Tools
The right tools can make a huge difference in how easy and safe your carving session is. Here’s a list of essentials:
- Serrated knife or a pumpkin carving kit for clean cuts.
- Scoop or large spoon for removing seeds and pulp.
- Small knife or detail tool for precision work on intricate designs.
+ Kelly's downloadable stencils (more on that below!).
You can also keep a few toothpicks handy for fixing any small carving mistakes.
3. Prep Your Pumpkin
- Cut from the bottom: Instead of the traditional method of cutting the top, carve a hole in the bottom. This makes it easier to place your candle (or light) without it falling over, plus your pumpkin will last longer.
- Scoop it out thoroughly: Once you’ve opened it, scoop out all the seeds and stringy bits. The cleaner the inside, the longer your jack-o'-lantern will last. Bonus: save the seeds for roasting!
4. Download and Use Our Stencils
Want a professional look without the stress of drawing your own design? We’ve got you covered! Kelly's Expat Shopping has a free downloadable stencil file that you can print and use. From spooky ghosts to classic jack-o’-lantern faces, these stencils will make your pumpkin pop.
To use the stencils:
- Print the design from our website (download link below).
- Tape the stencil to your pumpkin.
- Use a pin or small knife to trace along the lines, then remove the paper and carve away!
[Download Kelly’s Pumpkin Carving Stencils Here]
5. Carving Tips
- Start with large shapes: If you’re new to carving, go for bigger shapes first. Faces with big eyes and mouths are easier and more forgiving.
- Carve from the center out: This will help avoid putting too much pressure on your pumpkin and accidentally cracking it.
- Thin out thicker areas: If you find your pumpkin wall is too thick for delicate details, use your scoop to thin it from the inside.
6. Light It Up
Once your masterpiece is complete, it’s time to light it up! Instead of traditional candles, which can be a fire hazard, try LED tea lights or small battery-powered string lights to give your pumpkin a long-lasting glow.
7. Preserve Your Pumpkin
Want to keep your pumpkin looking fresh longer? Try these quick tips:
- Coat the cut edges with petroleum jelly to keep them from drying out.
- Mist with water and keep it in the fridge overnight to help maintain moisture.
- Use bleach spray to ward off mold.
Shop Pumpkins at Kelly’s!
Don’t have your pumpkin yet? Swing by Kelly’s Expat Shopping to grab one (or more!). We’ve got a great selection of pumpkins in all sizes for your carving needs. Whether you’re aiming for something spooky, silly, or a true work of art, you’ll find the perfect pumpkin in our store.


